 Every biker would love to keep his ride as clean as possible. So it's always good to have a schedule wash and a polish session maybe once in 6 months. Getting the motorcycle polished gives a nice restoration to the color of the motorcycle that it originally had. I was recommended to visit this place called Carspark in Chennai. For rupees 400 the package included a wash and polish. It took nearly 2.5 hours for the whole process to get completed and the end results- My motorcycle looks like it's brand new and is fabulous!
So we took down the step by step procedure of how the whole process is performed.
Washing:
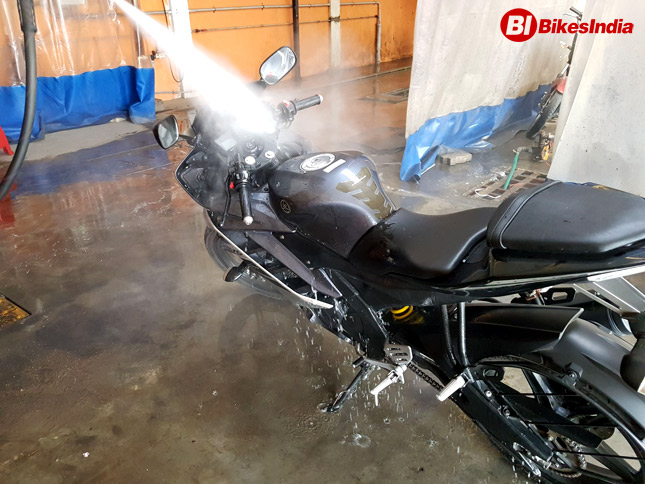 Step 1: Pre-wash
 The motorcycle is given a pre-wash with water that is processed from an RO plant to avoid corrosion and formation of water spots after wash. The pre-wash removes all the minor dust particles on top of the paint. This process is carried out for a period of 5 minutes.
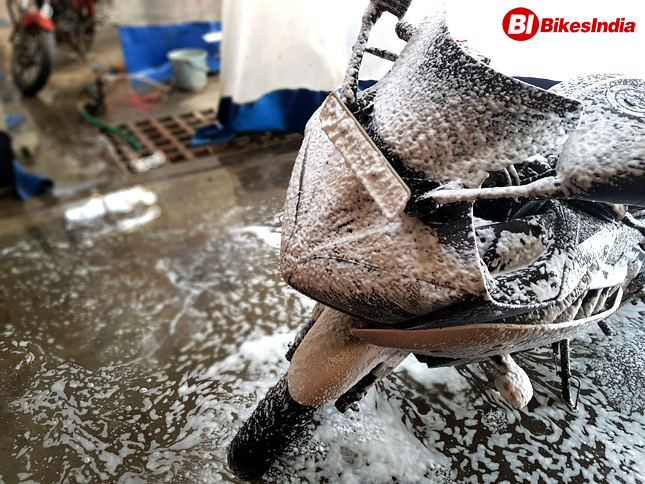 Step 2: Spraying Soap Foam
A soap solution is stored in a container, compressed air is sent to the handle that sprays the foam through a spray gun. This enables even spreading of the soap solution throughout the motorcycle. The soap is then spread evenly with a cloth to remove dust and residue manually. This process is carried out for a period of 10 minutes.
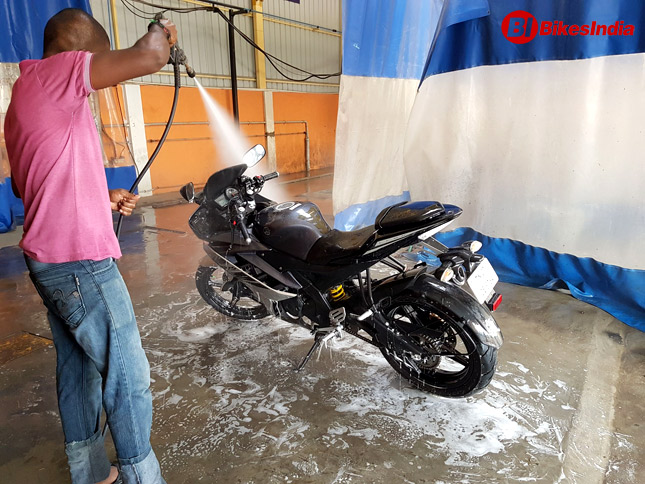 Step 3: Final Wash
 Once the soap solution is spread evenly with the cloth the dust and dirt are loosened, after which the water is sprayed again with high pressure to remove the particles. During this process, the chain, chain sprocket, mud-guards and wheel rims are also washed with care.
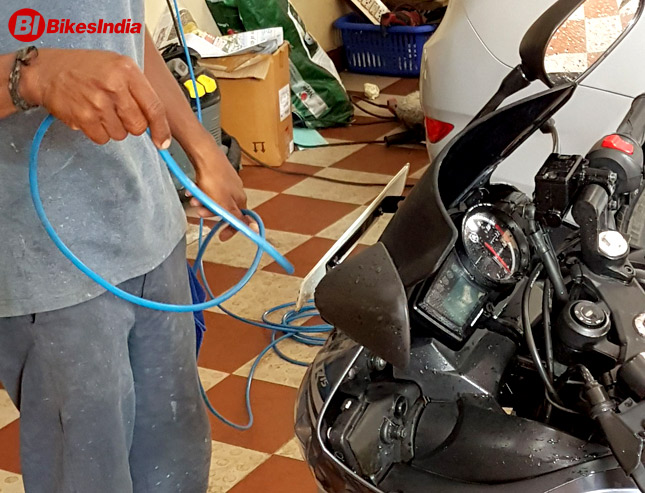 Step 4: Drying With Air and Wiping
Compressed air is blown to almost every part to remove the water from the places where the cloth can't reach. Once all the water oozes out, it is wiped off with a microfiber cloth.
Polishing :
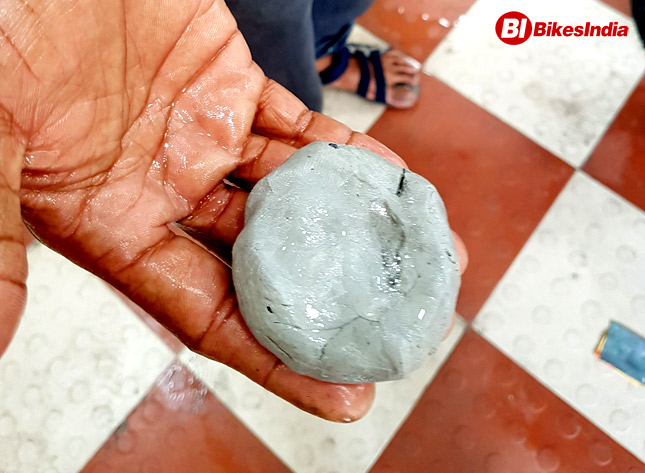 Step 1: Claying
 Claying is done to remove insects or contaminated particles. The clay is soaked in water for a few seconds and is rubbed throughout the motorcycle and is left to dry for a period of 10 minutes. A visible layer of clay is formed on top of the paint.
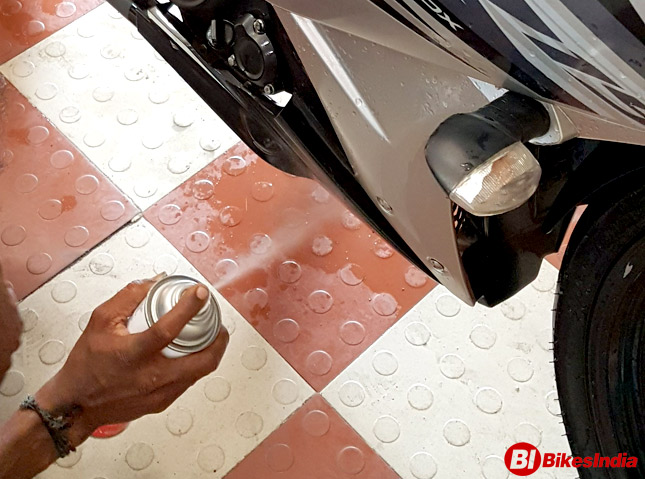 Step 2: Applying G-pack
The G-pack is sprayed throughout the motorcycle and is wiped off within a span of 3 minutes, this is done to remove tar stains on the motorcycle especially on the lower parts of the motorcycle.
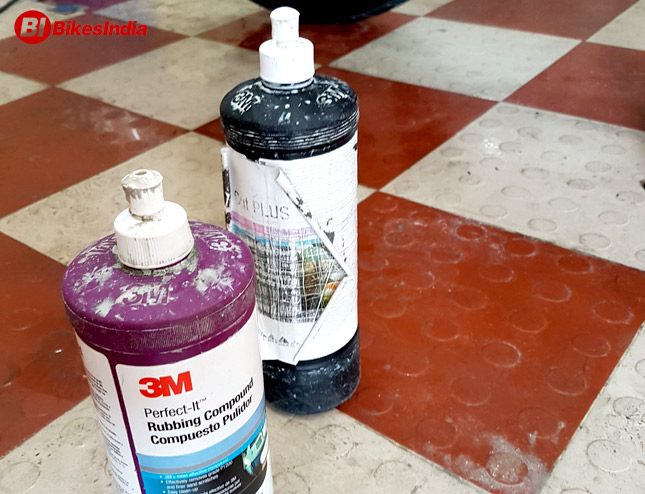 Step 3: Sanding
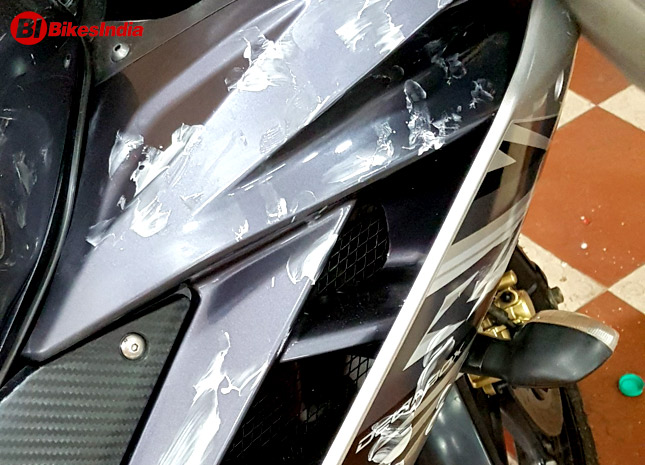
 This is done before the rubbing compound is added for buffing. They use a 2000 grit sandpaper to merge the small scratches. Minor scratches that aren't visible when water is sprayed can be removed. Scratches that are deep and have damaged the clear coating cannot be removed. The sandpaper is soaked in water for a few seconds, the area with minor scratches is sanded. To bring evenness.
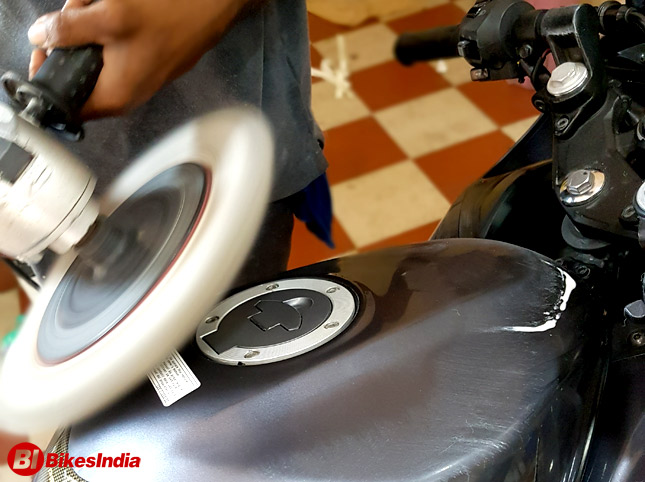 Step 4: Rubbing and Glazing
 The rubbing compounding is spread evenly on the colored panels of the motorcycle. Normally black plastic panels are avoided. After the rubbing compound is applied, a buffing machine is run over the parts, to spread the cream evenly and remove off the dirt and residue from the paint layer. Same way glazing is also repeated to enhance the paint of the motorcycle.
 Step 5: Wax Protection
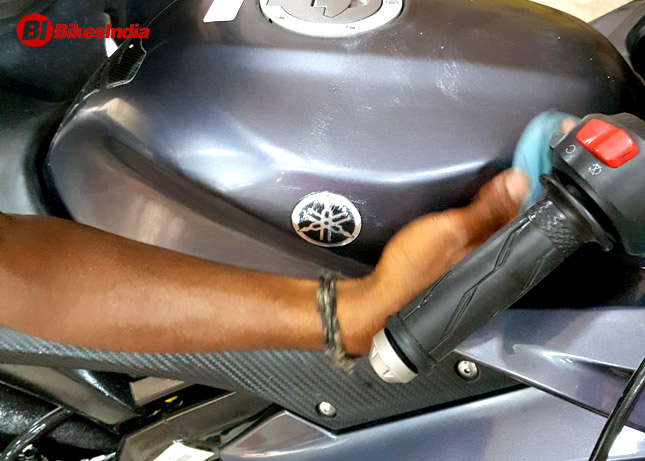
 A layer of wax is applied and is let to dry for a few minutes and is wiped off with a microfiber cloth. This forms a protective layer that will protect the paint from sunlight and other harmful rays.
 Step 6: Spraying Vinyl Polish
Vinyl Polish is sprayed on the black plastic areas to enrich the black color giving it a bright and glossy look and feel.
The polish will stay on the motorcycle for a period of 3 months based on how the motorcycle is cleaned and maintained. Cleaning the motorcycle with a microfiber cloth every day and washing it with water once in a week can keep it protected and safe for a very long time. A periodic wash and polish will keep the motorcycle as good as new for the years to follow up.
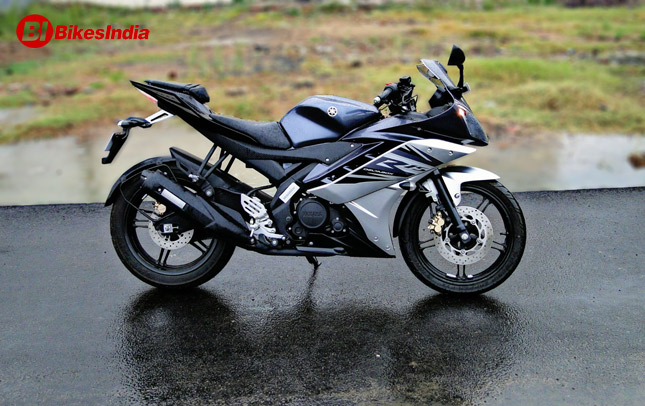
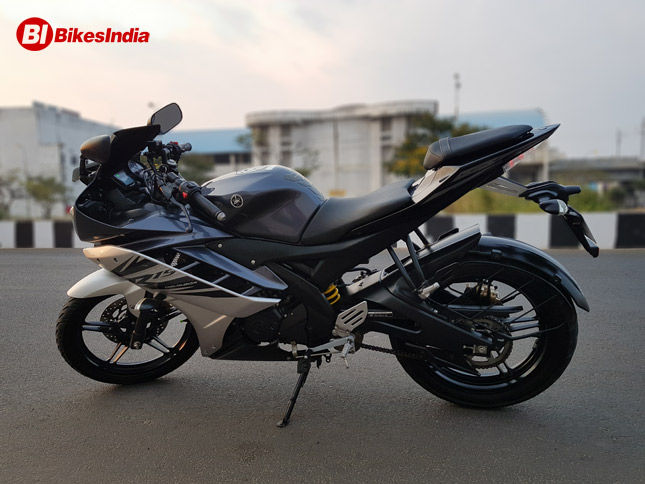 After the process the Kyra looks new and clean, at the end of the day, Rishath and Kyra are happy with the work. Hearty thanks to Carspark for patiently doing a neat job satisfying my needs.
By: Rishath Suresh


